Located in room 805 of the Menifee Valley Campus, the MakerSpace offers a wide variety of tools and hardware for anyone from the inexperienced to the veteran creator. Stations are available for anyone with a creative concept. Some students have used the Animaker Space (located at the San Jacinto Campus) to create products for their small businesses. Dr. Hal is the MakerSpace Specialist who runs the place and is happy to help students with their projects from start to finish. Here is a rundown of the most popular stations in the MVC MakerSpace.
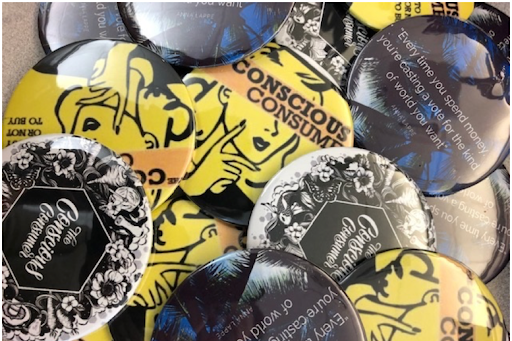
#1 The Button-Making Station
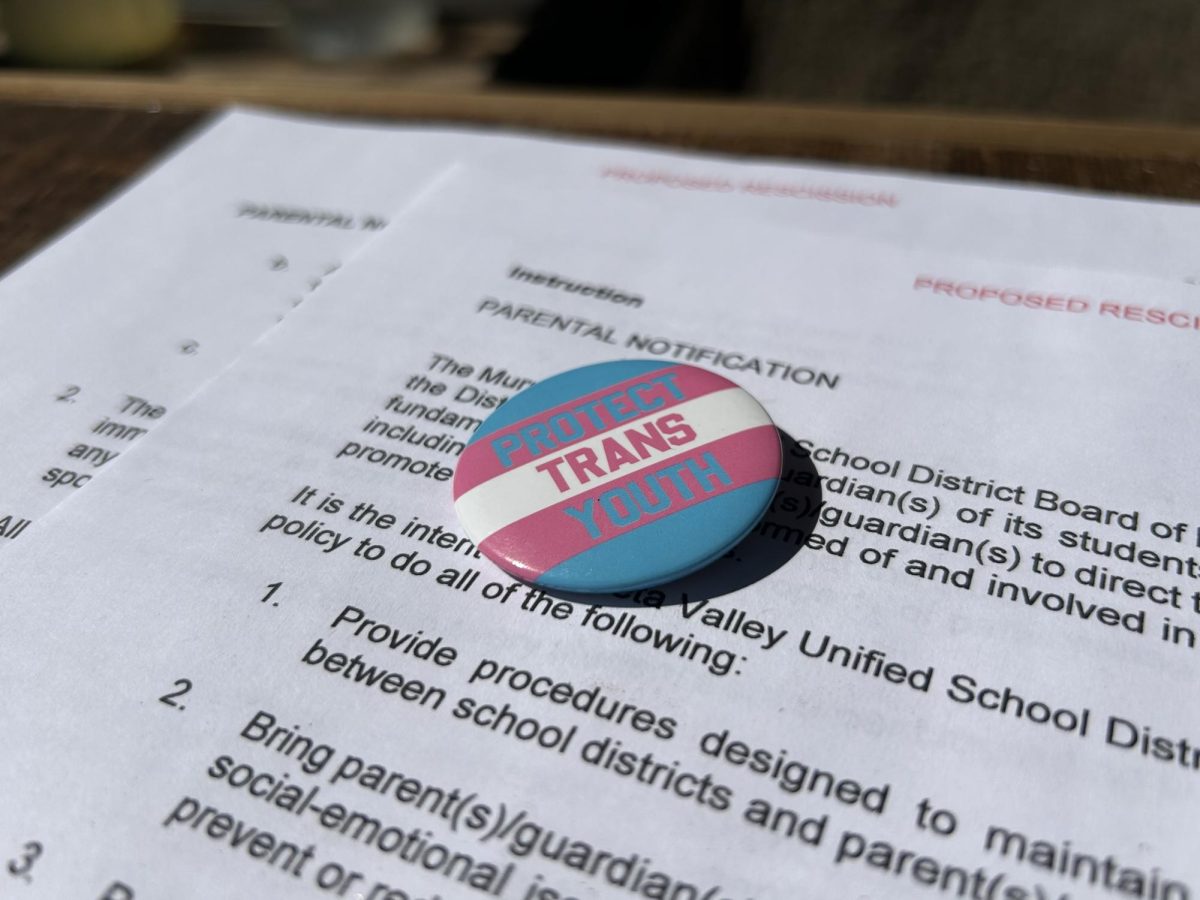
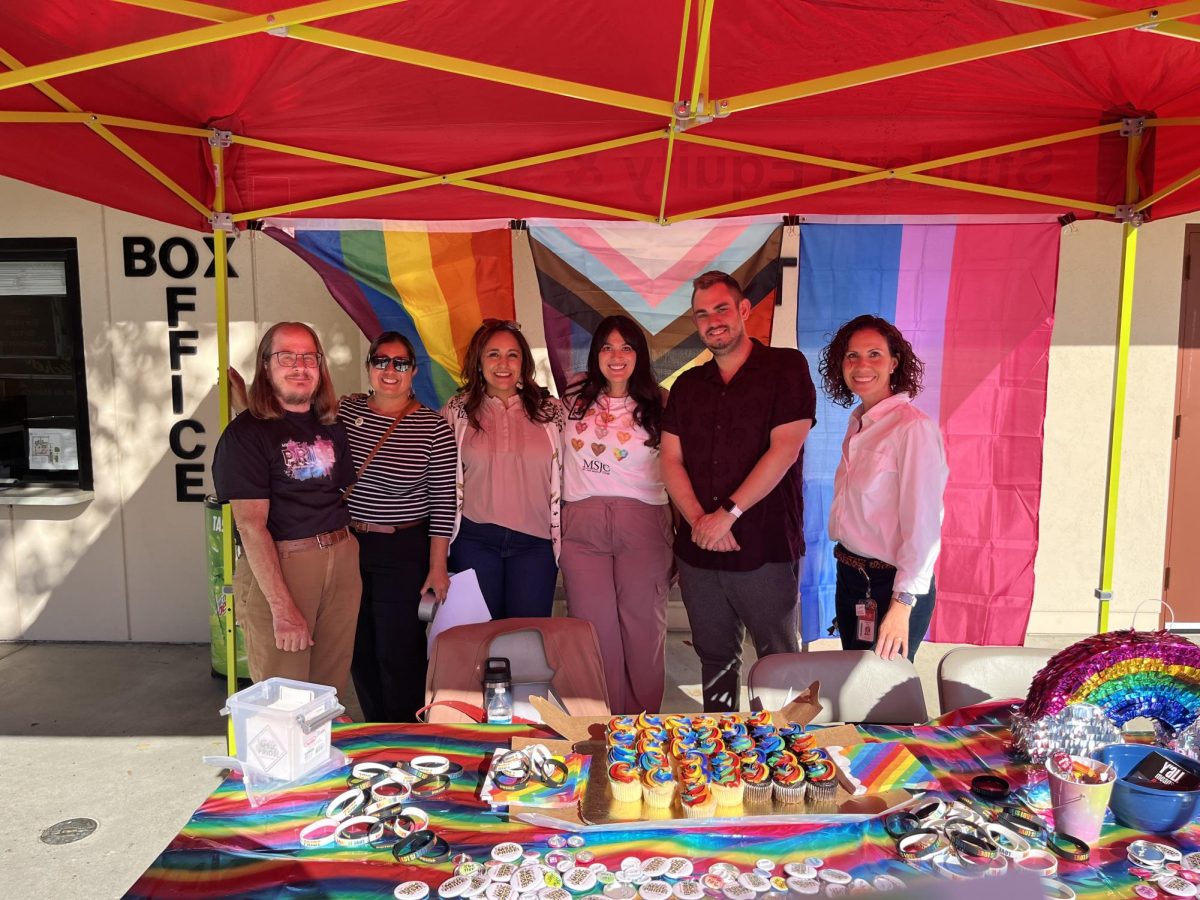
Some students may have noticed the considerable number of buttons that have been appearing on backpacks and bags. The most popular station in the Makerspace, the button-making station, is easy to use and allows a student’s art and designs to become 3D buttons. With little preparation, students can produce buttons to sell, display, or share with others. The only thing a student needs is a printed design. The MakerSpace provides a paper cutter, the pieces to make the button, and the button-making machine itself. Button templates can be found on the Maker Space Canvas Course page for students to paste their artwork. Don’t have a design in mind? Don’t worry! Magazines are provided so students can find a design and cut it out.
#2 The 3D Printing Station
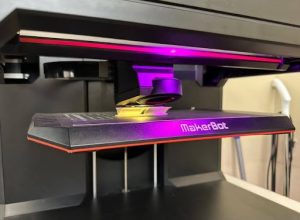
Ever wanted a figurine of your favorite character? Need a replacement part for your car? Wondered if you could create a model for your project? Look no more than to the 3D printers of the MakerSpace. With two types of printers to choose from, the MakerSpace has options for every type of maker. There are resin printers for making higher-detail objects, such as figurines, and makerbots for less-detailed objects that are slightly more durable. Don’t know the difference between Resin and PLA plastic? No worries! The Maker Space Specialist will help you through your design, from a concept to the final product. Not sure of what to make, but interested in how 3D printers work? The Maker Space also allows people who want to learn more about the internal workings of 3D printers through the MakerSpace course on Canvas (Link to join is below). The process of finding and setting up your design will not take long, but the most time-consuming part is the printing process. While there is a queue, your object is guaranteed to be printed within a few days.
#3 The Laser Etching Station
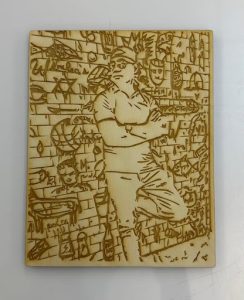
The idea of having your favorite design or artwork engraved on wood appeals to a lot of people, especially since it allows creators to sell their artwork. Not an artist but still want to engrave an image from your favorite movie? You can use nearly any image from the internet for engraving. While many tedious things need to be done on the back end, it is a relatively simple process that people quickly get the hang of. All you need to do is run the image through an SVG file converter and upload your design to the MakerSpace Computer. Then, the MakerSpace Specialist will give you step-by-step directions on how to engrave your image onto the material. Once your design, material, and setting are all correct, the only thing left to do is watch the laser do the work. Once you are finished, you will have an engraving of your business logo or artwork to display and share.
The MakerSpace allows students to let their creativity flow and bring faint mental concepts to physical products. All it takes is a brief walk around the space for you to realize that the possibilities are limitless. As Dr. Hal says, “Participating in activities in the AniMakerSpace and Eagle MakerSpace involves lots of learning, thought, creativity, and work. It is about exploring the boundaries of your understanding of yourself and the world around you.”
Link to join the MakerSpace Canvas Course: enroll in the MakerSpace Canvas
